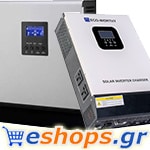


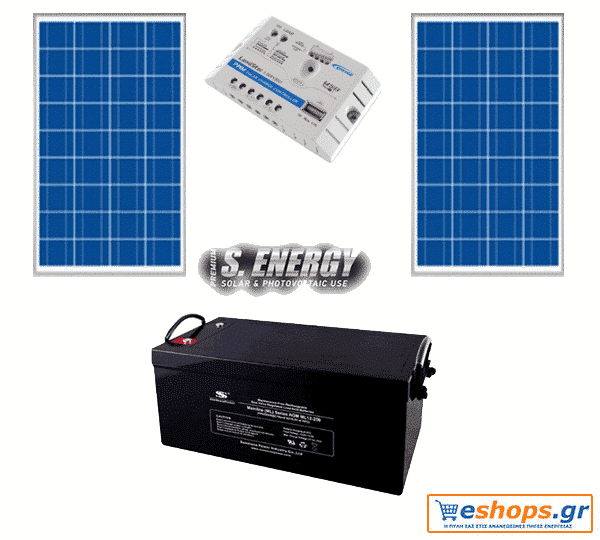
Autonomous photovoltaic system for refrigerator 12V / 65watt - 75 watts
Autonomous photovoltaic kit / package for small refrigerator 65-75 watt / 12V or 220V by adding inverter
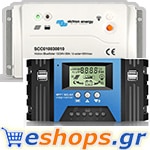
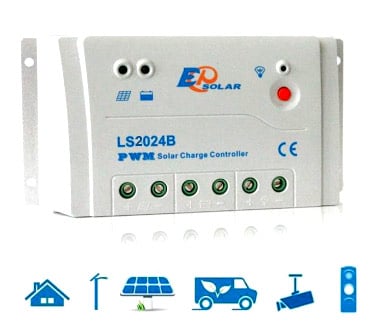
10A, programmable charge regulator with night mode.
Technical data - programming
| QUICK START INSTRUCTIONS | |||||||||||||||||||||||||||||||||||
| This section provides a brief overview of how to get started using the controller. However, please review the entire manual to ensure best performance and years of trouble-free service. 1. Mount the controller on a vertical surface. Allow space above and below the controller for air flow. 2. Make sure the PV and load currents will not exceed the ratings of the controller being installed. 3. It is recommended that the connections be made in order from 1 to 6. (see the following picture) |
|||||||||||||||||||||||||||||||||||
| 4. Connect the BATTERY first. Use care that bare wires do not touch the metal case of the controller. 5. Connect the SOLAR (PV array) next. The green LED indicator will light if sunlight is present. 6. Connect the LIGHT last. If the red LED indicator lights, the battery capacity is low and should be charged before completing the system installation 7. Press the BUTTON as 6 or 7 to verify the system connection. |
|||||||||||||||||||||||||||||||||||
| 3. Connect the consumer to the charge regulator - plus and minus Please observe that the automatic adjustment to 12V / 24V systems does not function properly, if this sequence order is not followed. An improper sequence order can damage the battery! | |||||||||||||||||||||||||||||||||||
| LIGHTING CONTROL OPTIONS | |||||||||||||||||||||||||||||||||||
| 1. Press the power switch for 5 seconds, and select the desired LIGHTING CONTROL option. The LED is on, which confirms you have selected the right one. 2. The controller requires 10 minutes of continuous transition values before it starts to work. These constraints avoid false transitions due to lightning or dark storm clouds. 3. 10 minutes off before the controller starts to work. 4. A brief description follows below: |
|||||||||||||||||||||||||||||||||||
|
|||||||||||||||||||||||||||||||||||
Price without VAT
Out of stock
The 10A, programmable charge controller with night mode in black or white. It has a PWM microprocessor for more efficient and smoother charging. Also programmable for Night mode. It has a light sensor and a timer. It includes connectors for devices that are programmed to operate at night while at the same time they are switched off according to the respective programming.
Technical data - programming
| QUICK START INSTRUCTIONS | |||||||||||||||||||||||||||||||||||
| This section provides a brief overview of how to get started using the controller. However, please review the entire manual to ensure best performance and years of trouble-free service. 1. Mount the controller on a vertical surface. Allow space above and below the controller for air flow. 2. Make sure the PV and load currents will not exceed the ratings of the controller being installed. 3. It is recommended that the connections be made in order from 1 to 6. (see the following picture) |
|||||||||||||||||||||||||||||||||||
| 4. Connect the BATTERY first. Use care that bare wires do not touch the metal case of the controller. 5. Connect the SOLAR (PV array) next. The green LED indicator will light if sunlight is present. 6. Connect the LIGHT last. If the red LED indicator lights, the battery capacity is low and should be charged before completing the system installation 7. Press the BUTTON as 6 or 7 to verify the system connection. |
|||||||||||||||||||||||||||||||||||
| 3. Connect the consumer to the charge regulator - plus and minus Please observe that the automatic adjustment to 12V / 24V systems does not function properly, if this sequence order is not followed. An improper sequence order can damage the battery! | |||||||||||||||||||||||||||||||||||
| LIGHTING CONTROL OPTIONS | |||||||||||||||||||||||||||||||||||
| 1. Press the power switch for 5 seconds, and select the desired LIGHTING CONTROL option. The LED is on, which confirms you have selected the right one. 2. The controller requires 10 minutes of continuous transition values before it starts to work. These constraints avoid false transitions due to lightning or dark storm clouds. 3. 10 minutes off before the controller starts to work. 4. A brief description follows below: |
|||||||||||||||||||||||||||||||||||
|
|||||||||||||||||||||||||||||||||||
Price without VAT
| Weight | 1 kg |
|---|---|
| Brand |
LS2024EU 20A PWM charge controller with USB
Ο charge regulator LS2024EU 20A with USB output provides efficient charging by applying the new PWM technology, increasing the battery life and improving the performance of the photovoltaic panels of a system; Load output · Provides battery temperature compensation ensuring proper charging and discharging of parameters automatically.
Features Electronic protection: · Load overload protection · Short circuit protection · Over-discharge battery protection · Reverse battery polarity protection
Price without VAT
Out of stock
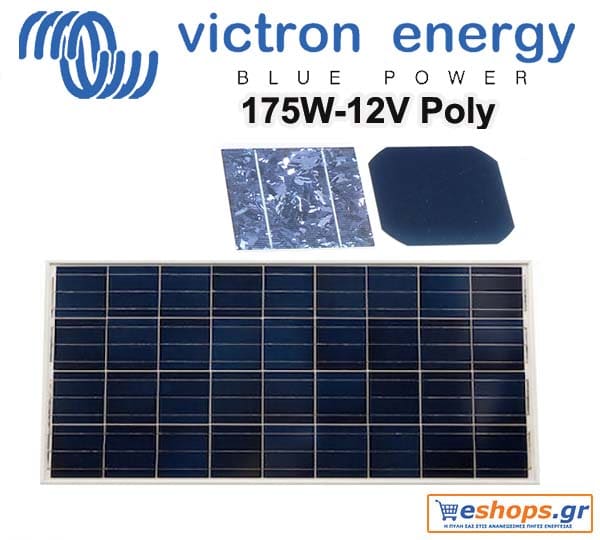
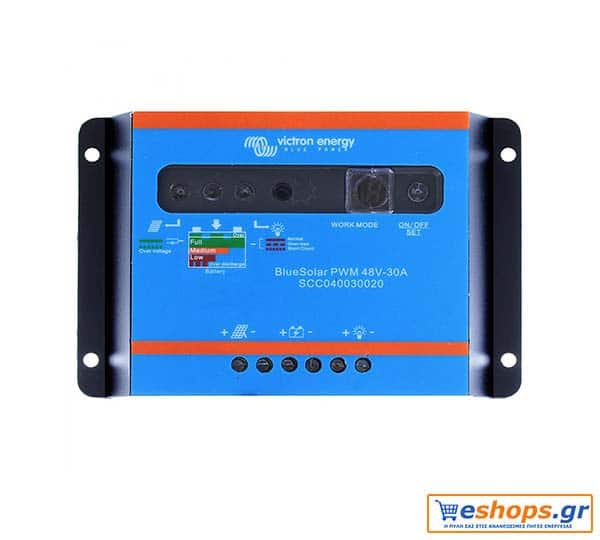
The charging regulator Victron Victron Bluesolar PWM Light 48V-30A, has an internal temperature sensor and consists of an advanced system of three stages of battery charging (Bulk, absortion, float) that ensures the correct charging process of your battery is charged resulting in maximizing life her! It is a very reliable charge regulator with protection against short circuits and overvoltages as well as from reverse polarity phenomena of solar panels and / or the battery. The charge regulator Victron Victron Bluesolar PWM Light 48V-30A is suitable for photovoltaic systems, for charging the batteries with current up to 30A.
Specifications
| Manufacturer | VictronEnergy |
|---|---|
| Charge Controller Type | PWM |
| System Voltage | 48V |
| Permitted Humidity | max. 95% RF (not condensing) |
| IP Protection | IP20 |
| Charging Current max. | 30A |
| Standby Self-Consumption | 10mA |
| Max. Voltage Solar Module | 100V |
| Max. Current Solar Module | 30A |
| Number of Charging Outputs | 1 |
| Ambient Temperature | -20 ° C - + 50 ° C |
Available on backorder
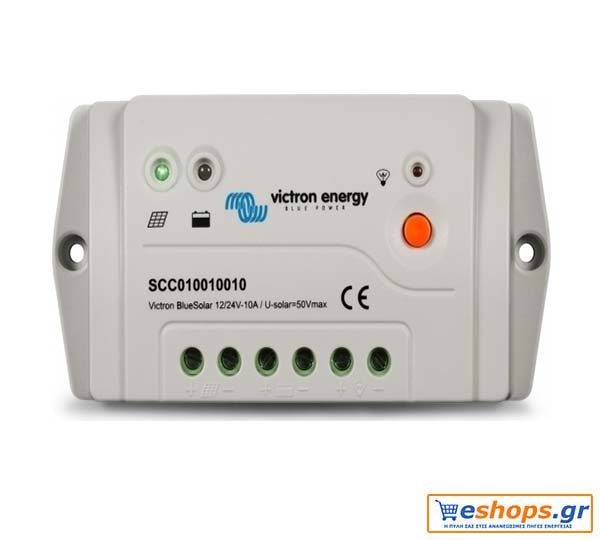
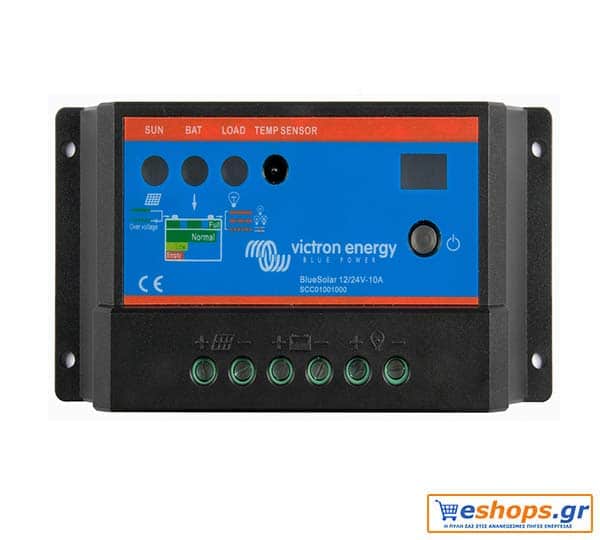
The BlueSolar PWM-Pro series is ready to use with the default settings. It has three stages of battery charging (Bulk, absortion, float), protection against short circuit and over-voltages as well as from reverse polarity of the solar panels and / or the battery. These unique features make the BlueSolar PWM -Pro 12 / 24V-10A controller one of the most valuable controllers on the market. It can also be programmed easily, quickly and correctly with the help of the integrated BlueSolar Pro remote control panel.
Specifications
| Manufacturer | VictronEnergy |
|---|---|
| Charge Controller Type | PWM |
| System Voltage | 12V, 24V |
| Connectivity | Fananzeige Pro Fanbedienpanel, PWM-Pro with USB Interface Cable, Temperature Turbines |
| Permitted Humidity | max. 98% (not condensing) |
| IP Protection | IP30 |
| Charging Current max. | 10A |
| Standby Self-Consumption | 10mA |
| Max. Voltage Solar Module | 28V / 55V |
| Max. Current Solar Module | 10A |
| Number of Charging Outputs | 1 |
| Ambient Temperature | -20 ° C - + 50 ° C |
Price without VAT
Available on backorder
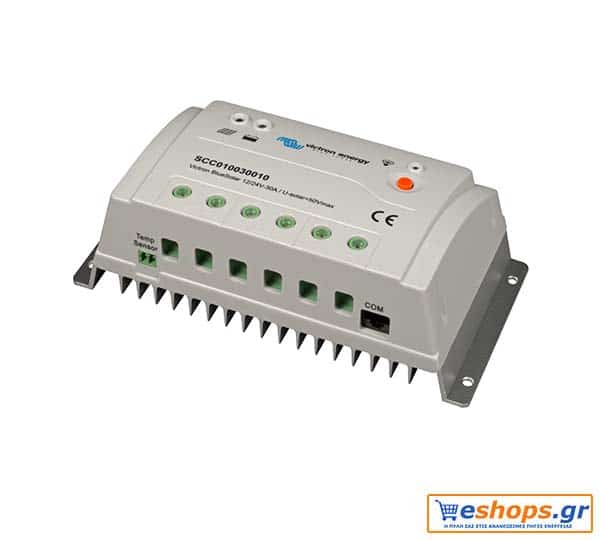
The BlueSolar PWM-Pro series with default operating settings is one of the most advantageous and reliable solutions on the market. The charge regulator BlueSolar PWM-Pro 12 / 24V-20A has three battery charging stages (Bulk, absortion, float) which maximizes the battery life and the smooth operation of your photovoltaic system. It also has protection against short circuits and overvoltages as well as from reverse polarity phenomena of solar panels or the battery. It can also be programmed with the help of the integrated BlueSolar Pro remote control panel easily, quickly and correctly.
Programmable with night mode
Specifications
| Manufacturer | VictronEnergy |
|---|---|
| Charge Controller Type | PWM |
| System Voltage | 12V, 24V |
| Connectivity | Fananzeige Pro Fanbedienpanel, PWM-Pro with USB Interface Cable, Temperature Turbines |
| Permitted Humidity | max. 98% (not condensing) |
| IP Protection | IP30 |
| Charging Current max. | 20A |
| Standby Self-Consumption | 10mA |
| Max. Voltage Solar Module | 28V / 55V |
| Max. Current Solar Module | 20A |
| Number of Charging Outputs | 1 |
| Ambient Temperature | -20 ° C - + 50 ° C |
Available on backorder
System voltage: 12V / 24V automatic selection. Maximum charging / load current: 10A / 10A Same consumption: operating temperature: -20 ~ + 50⁰C Dimensions: 92 x 93 x 38 mm Weight: 168gr Protection: IP22
Price without VAT
In stock
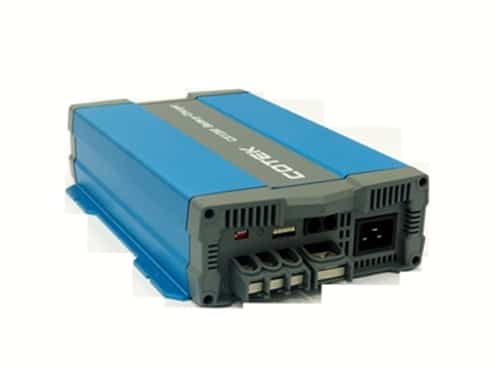
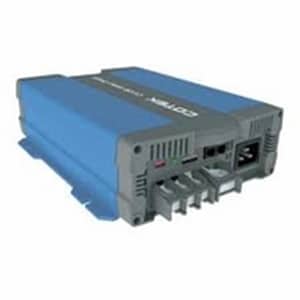
Cotek CX1280 Battery Charger - 12V - 80A - 230VAC
Price without VAT
In stock
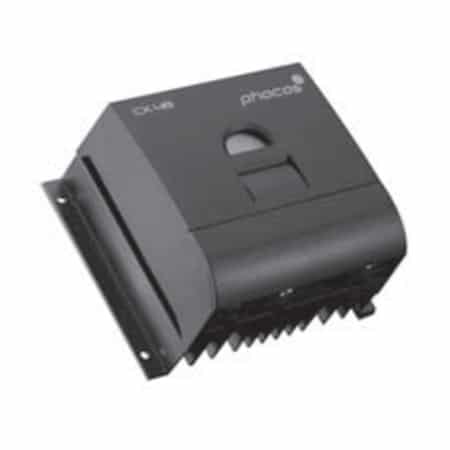
Use in small autonomous and large photovoltaic installations. Main Features The charge regulator for photovoltaics CX40-48 has an LCD graphic display, which displays the charge status of the battery and the charge.
Price without VAT
In stock
Specifications
| Charge Controller Type | PWM |
|---|---|
| System Voltage | 12V, 24V |
| Permitted Humidity | max. 95% RF (not condensing) |
| IP Protection | IP20 |
| Charging Current max. | 10A |
| Standby Self-Consumption | 10mA |
| Max. Voltage Solar Module | 28V / 55V |
| Max. Current Solar Module | 10A |
| Number of Charging Outputs | 1 |
| Ambient Temperature | -20 ° C - + 50 ° C |
Available on backorder
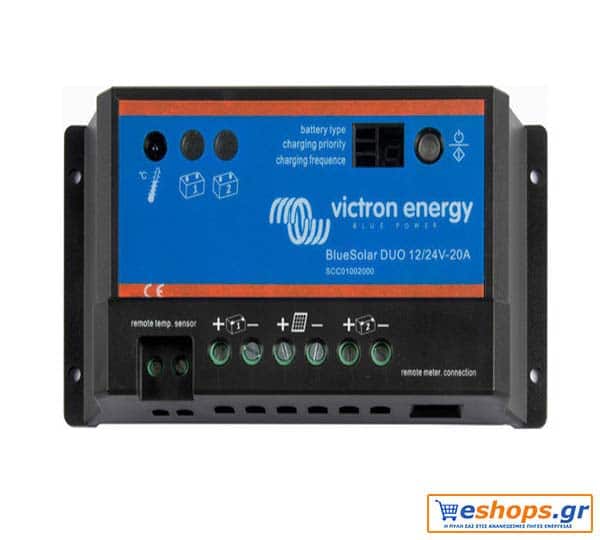
Charging regulator of Victron BlueSolar PWM DUO 12 / 24V-20A includes internal temperature sensor for smooth operation of the regulator. Also with its two outputs it allows the simultaneous charging of batteries. In addition, it includes three stages of battery charging (Bulk, absortion, float), which ensure the maximum charge of the battery, which in turn ensures the smooth operation of your photovoltaic system. The BlueSolar PWM DUO 12 / 24V-20A charge regulator also includes an advanced protection system against short circuits and overvoltages as well as from reverse polarity effects of the solar panels or the battery itself.
Charging Regulator, with 2 outputs for charging Batteries
Price without VAT
Out of stock
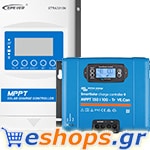
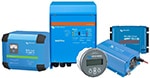
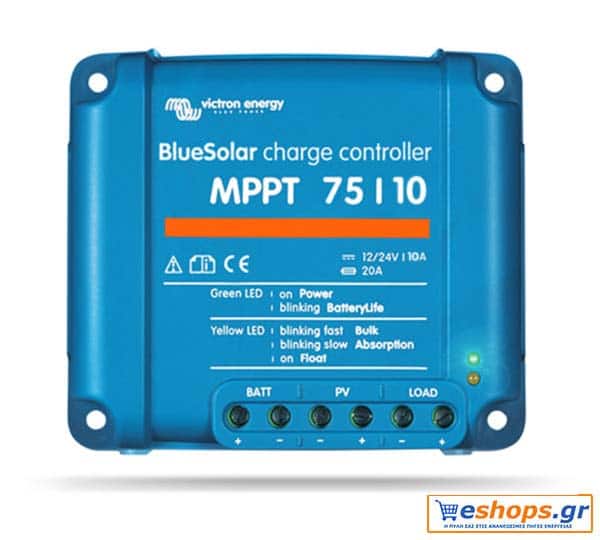
Victron battery chargers, thanks to fast technology maximum power point (MPPT) from photovoltaic panels, even under shading conditions, promise the fastest possible charging of the batteries of the autonomous photovoltaic system, based on the safety of the equipment and ensuring the required charging voltage of the batteries for their proper and long-term proper operation.
They have extremely fast find the maximum power efficiency point (MPPT). Especially in the case of cloudy skies, or when the light intensity is constantly changing, an ultra-fast MPPT controller will improve energy efficiency by up to 30% compared to PWM charge controllers of up to 10% compared to slower MPPT controllers.
Specifications
| Type | MPPT |
| Power (W) | 145 (12V) / 290 (24V) |
| Manufacturer | VictronEnergy |
| Input voltage (V) | 75 |
| Output Voltage (V) | 12/24 |
| IP Protection | IP43 (electronic components), IP22 (connection area) |
| Weight (kg) | 0.5 |
| Warranty (years) | 5 years |
| Other Information | Color Blue (RAL 5012), 6 mm² / AWG10 (Power terminals), VE.Direct |
Available on backorder
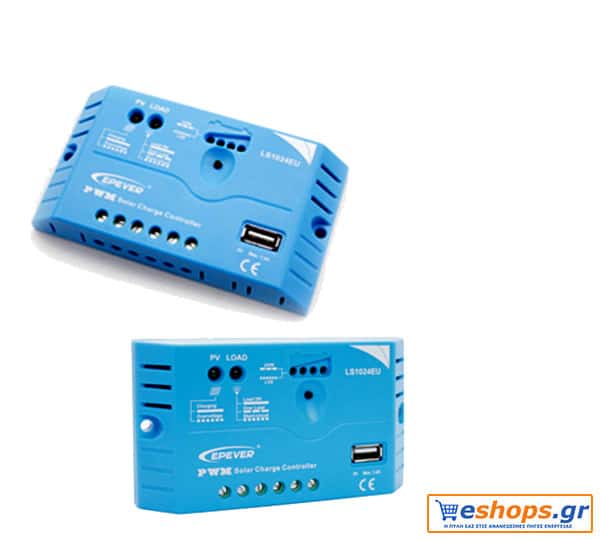
Charging regulator LS0512EU 5A PWM with USB output
Specifications:
Ο charge regulator LS0512EU 5A provides efficient charging by applying the new PWM technology, increasing battery life and improving the performance of a system's photovoltaic panels; of the load output · Provides compensation of the temperature of the batteries ensuring proper charging and discharging of the parameters automatically
It has Electronic protection:
· Load overload protection · Short circuit protection · Battery protection against overcharging · Reverse battery polarity protection
Price without VAT
Out of stock
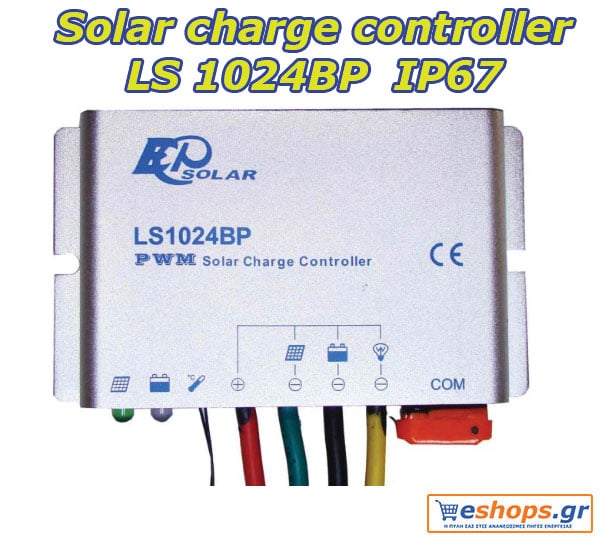
Charging regulator waterproof / waterproof LS1024BP 10A PWM with aluminum body IP67. Suitable for outdoor use or operation facing the sea. Ideal for outdoor garden lights, light columns, yachts, caravans, caravans
Price without VAT
In stock
Cotek CX2425 Battery Charger - 24V - 25A - 230VAC
Price without VAT
In stock
Its charge regulator Victron Bluesolar PWM Light 48V-10A is compatible with European standards EN60335-1, EMC EN61000-6-1, EN61000-6-3. You do not want to be frustrated if you cannot get the right pitch so invest in a good capo that will extend your life for a while.
Specifications
| Manufacturer | VictronEnergy |
|---|---|
| Charge Controller Type | PWM |
| System Voltage | 48V |
| Permitted Humidity | max. 95% RF (not condensing) |
| IP Protection | IP20 |
| Charging Current max. | 10A |
| Standby Self-Consumption | 10mA |
| Max. Voltage Solar Module | 100V |
| Max. Current Solar Module | 10A |
| Number of Charging Outputs | 1 |
| Ambient Temperature | -20 ° C - + 50 ° C |
Available on backorder
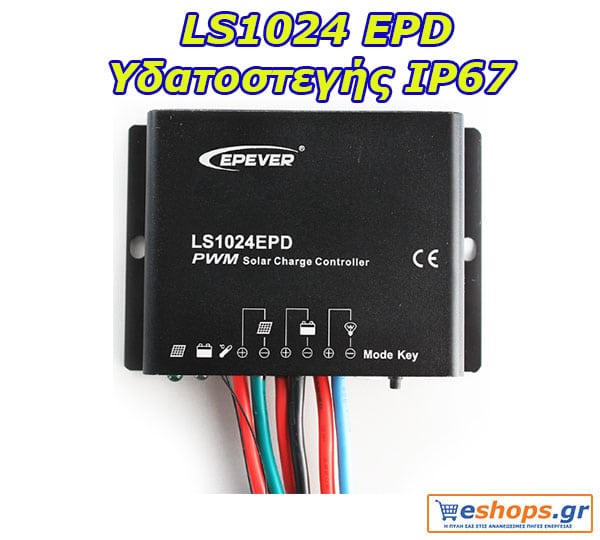
Waterproof / watertight charge regulator IP 67 LS1024EPD 10A PWM technology. Suitable for lighting columns, garden lights, yachts, yachts and generally for outdoor use with protection from moisture.
Price without VAT
Out of stock
Price without VAT
Out of stock
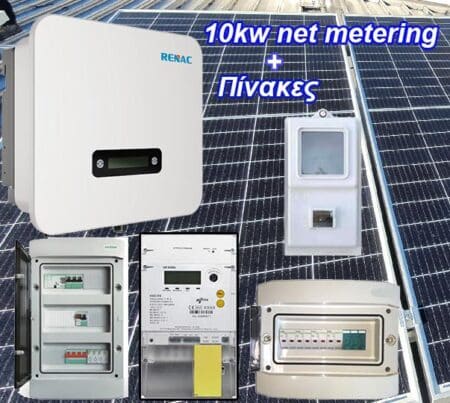
10 Kwatt photovoltaic on roofs with interconnected to PPC photovoltaic system with installation

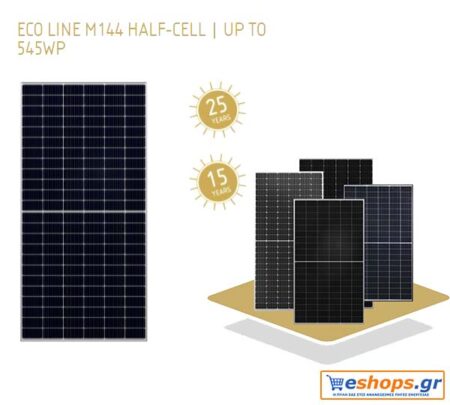
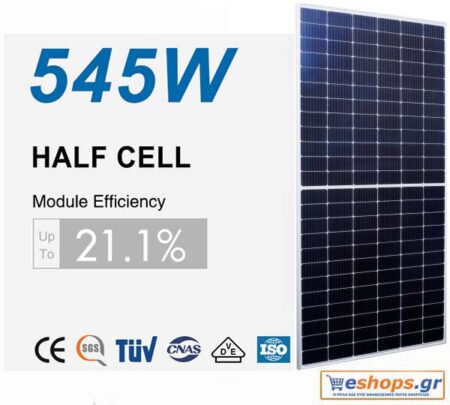
Photovoltaic Eco 545
See all offers here
Available on backorder

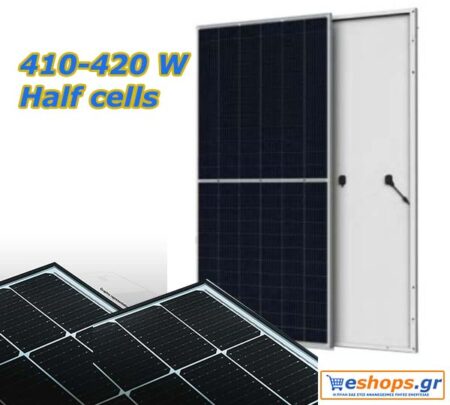
410-WATT-420-WATT-
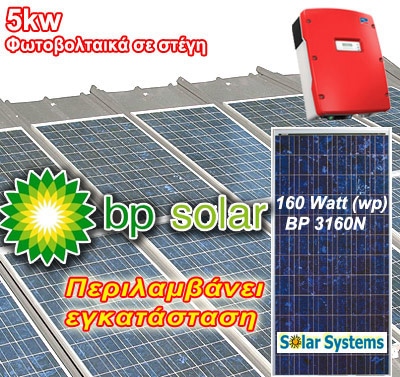
5kw with photovoltaics on roofs with photovoltaics and installation Additional offers here
Available on backorder
Net metering 5kW photovoltaic package offer
11 Photovoltaic panels 450 watts
Network inverter Renac NA 5000 DS (7500WATT max) 10 Year Warranty
Tile roof supports for 11 PV panels.
In stock
Available on backorder
Autonomous photovoltaic kit / package for small refrigerator 65-75 watt / 12V or 220V by adding inverter
Available on backorder
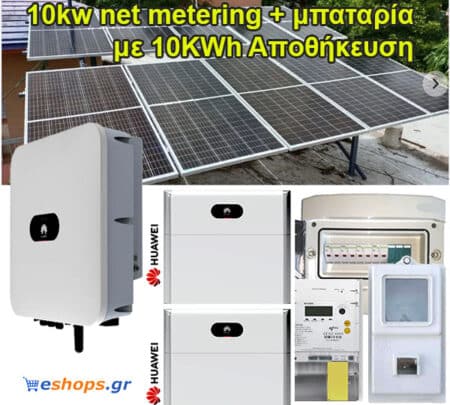
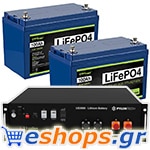
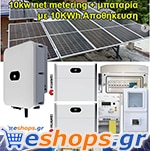
Net-metering 10kw with 10kwh lithium battery for storage with PV 460 WATT and Panels Complete AC/DC package for energy compensation (10 year inverter warranty)
Net metering 10kw with 10kwh lithium battery ( They produce in the summer in southern areas 40-50kw daily and about half or 1/3 in Winter) 12.000 - 16.000 kw averaged per year in Southern regions.
Price without VAT
Available on backorder
Available on backorder
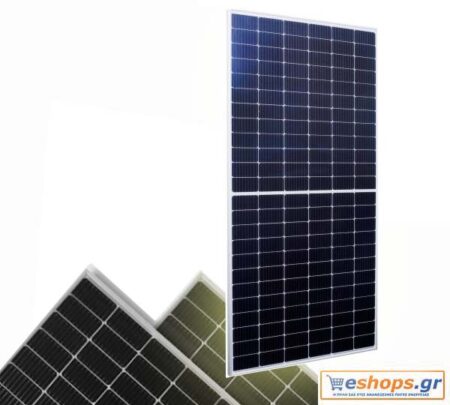
Suitable for net-metering, home photovoltaics, parks and photovoltaic stations
Minimum purchase quantity 9 pieces
Out of stock
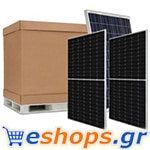
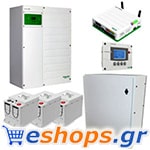
4 pcs. Φ / Β panel Solar Energy SE 270 / 270-275 watt Poly/ European. They have positive Photovoltaic system Premium 24V tolerance and power in watts. That is, they always deliver more watts than their rated power, high efficiency installed power 1080 watts up to + 5% more efficiency. Available with 12 years warranty factory equipment and 25 years warranty 80% yield.
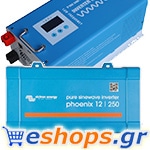
1 pc. pure sine wave inverter Phoenix 24/1600 3200 watt power supply high reliability. Suitable for operation of all devices of corresponding power. Provides energy savings of up to 25% on self-consumption due to stabilized sine. Warranty 60 months (5 years)
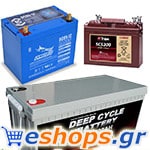
4 pcs. Batteries S. Energy ECOAGM 220 / 250AH C100 type VRLA/ AGM corresponding specifications to GEL batteries. (deep closed type discharge lasting 10-12 years of life). Total 828AH / 12V
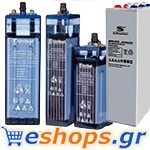
Possibility to add 2V High-strength and longer-lasting batteries in extreme uses at a small additional cost.
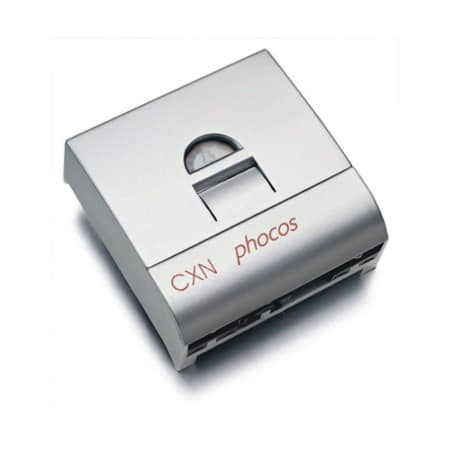
1 pc. Charging regulator Phocos CXN 40 (Digital programmable) (2 years warranty)
Ability to add MPPT controller with datalogger to increase efficiency up to 25% at a small additional cost.
Available on backorder
Available on backorder
Advanced finding of optimal power efficiency in case of partial shading
Victron battery chargers, thanks to fast technology maximum power point (MPPT) from photovoltaic panels, even under shading conditions, promise the fastest possible charging of the batteries of the autonomous photovoltaic system, based on the safety of the equipment and ensuring the required charging voltage of the batteries for their proper and long-term proper operation.
Available on backorder
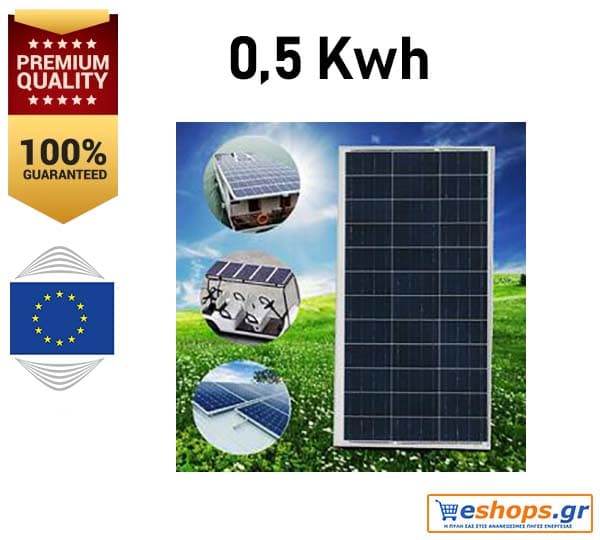
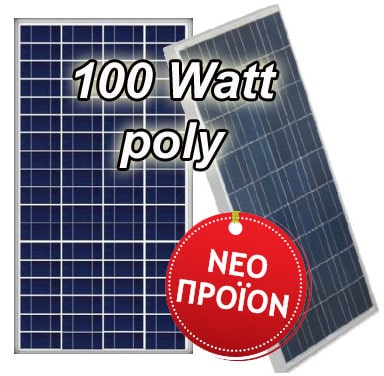
Solar Energy 100watt -103 watts high efficiency polycrystalline silicon with 10 years factory hardware warranty & 25 years power efficiency guarantee at 80%.
Price without VAT
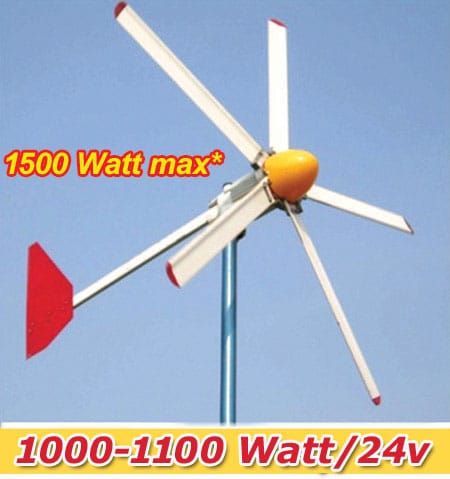
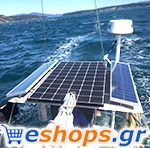
Wind turbine 1000 watt - 1100 watt 24v with maximum power / 1500 watt * max / 24v high quality aluminum and Marine type durability for use near the sea.
Price without VAT
Out of stock
SolarFam REVO VM II Series 3.5 Any Grid Hybrid Inverter Imported from Holland-3500W / 24V MPPT 500V/100A
SolarFam REVO VM II Series 3.5 The revolution in inverters – autonomous and interconnected home systems
The only one capable of operation even WITHOUT BATTERIES
Available on backorder
Out of stock
3500W-4100W
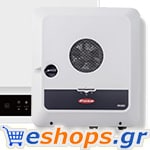
Maximum reliability in terms of operation.
Board Management (Module Manager) ensures effective maximum power monitoring (MPP-Tracking).
Maximum power gain under part load thanks to the MIX ™ system.
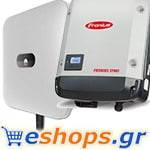
Secure and simple visualization and surveillance with a variety of Fronius DATCOM system extensions.
Price without VAT
Out of stock
Available upon order from Victron Netherlands within 7-9 working days
In stock
Growatt Network Inverter: Top Quality, Unique Reliability and Lifespan
2 MPPT trackers
Available on backorder
10 Kwatt photovoltaic on roofs with interconnected to PPC photovoltaic system with installation
Photovoltaic Eco 545
See all offers here
Available on backorder
Suitable for photovoltaic roof / net-metering, home photovoltaics, parks and photovoltaic stations
Minimum purchase quantity 9 pieces
Available on backorder